
8 Makeup Tips for Looking Your Best in Photos!
GUEST BLOG: Jacquelyn is a freelance makeup artist and beauty consultant at Beauty by Jacquelyn based in Minneapolis, Minnesota. She loves teaching people about makeup and its application, and especially enjoys helping clients look and feel their best for important moments in their lives.
Makeup can be intimidating if you don’t normally wear very much, or don’t have a lot of experience with applying it yourself. If you’re about to get in front of a camera, makeup works a little bit differently than how we might wear it for every day running around, to the office, or even on date night.
Luckily, these tips are tried-and-true ways to make sure that if you’re applying your own makeup for photos, you’ll look natural and camera-ready. Of course, if DIY makeup still sounds intimidating and nerve-wracking – or if you don’t want to spend money on supplies you don’t have – visit Beauty by Jacquelyn, and I’m happy to apply it for you!
1. Time to prime!
Makeup primer does just what it sounds like: primes and prepares your skin for makeup. It helps fill in your pores for a smoother surface, and it also provides an extra boost of staying power so that your makeup will last longer. Primer can be a cream, a gel, or a powder formula, and you apply it in a thin, even layer over your entire face – don’t forget your eye area! You can use brushes or a sponge, but I usually just use clean fingertips. Be sure to always wash, moisturize, and apply SPF before you put any makeup on!
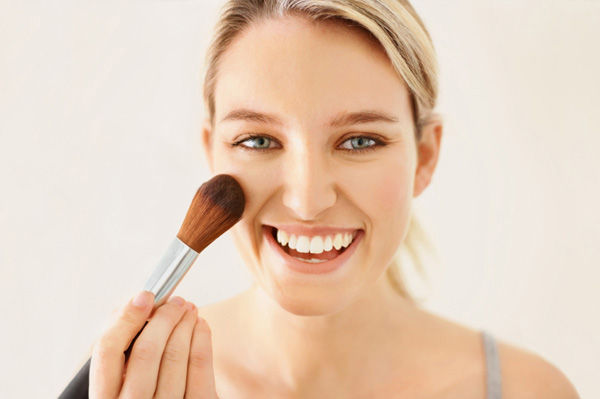
Photo Source: SheKnows
2. Find your undertone
The undertone of your skin is the “cast” of your skin color, and is typically one of three possibilities: warm, cool, or neutral. To find your undertone, there are a few different tricks you can try. The most common is whether you look best in gold or silver jewelry: silver is cool, gold is warm, and if you look great in both, you’re most likely a neutral tone. Another way to help discern your undertone is if the veins on your wrist appear blueish or purple; that also signals cool tones. If they skew more greenish, you’re most likely warm – if you can’t quite tell, you’re probably neutral. Once you know your undertone, you can choose makeup that is cooler or warmer to make sure your choices are flattering and complimentary!

My most recent bridal party, where the makeup artist (me!) was also the matron of honor. You’ll see that even though we all have light skin, there are different “casts”. For example, the bride (center) has pink/cool undertones; just to her left, I have yellow/warm undertones.
3. Don’t be afraid of color!
While it’s generally not a good idea to rock neon eyeshadow or a super-vibrant lip if that’s not normally your style – you want to look like yourself! – cameras tend to wash everyone out a bit. To combat this, reach for blush, lipstick, and stronger shadows. Blush should be applied to the apples of your cheeks for a healthy glow. To find your “apples”, smile normally; apply the blush to the rounded parts of your cheeks. Start lightly and use a fluffy brush – but remember that you’ll need more than you think if you’re taking photos. Stick to shades that are peachy or coral if your skin has warm undertones; cool tones can use roses and mauves.

This bridesmaid wore a deep taupe brown shadow to emphasize her eyes, even though she didn’t normally wear brown eyeshadow. It adds depth and definition!
4. Love your lips!
Wearing lipstick really does complete a look. Just like blush on your cheeks, adding some color to your lips makes your face look brighter and more lively. Generally, we want to keep undertones and the color wheel in mind (and that goes for all makeup!). Cool tones can reach for shades of rose-y pink or cool berry colors; warm tones look great in brownish-reds, taupes, and deep berry colors.
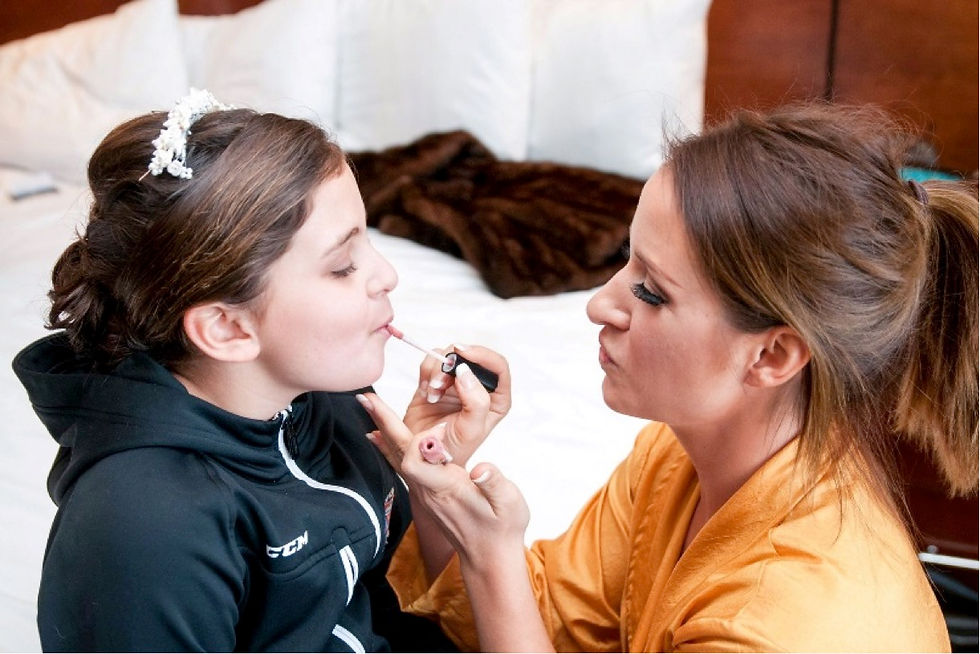
Applying lip gloss to my flower girl at my own wedding. She has neutral skin undertones (and is only 7!), so I used a neutral, nude-pink gloss. Modeling the pucker was a must!
5. Lashes and brows are your eyes’ best friend.
While false lashes may sound or seem intimidating, they can REALLY make a difference in photos. Even those who naturally have long or thick eyelashes notice that their eyes appear stronger, more defined, and more awake if they are wearing additional lashes. There are many different options for lashes, and many video tutorials abound! If you’re really intimidated, you can call me – lash application is a service I offer! If you’re trying lashes on your own, use a strip of lashes that looks natural (not too dramatic) and make sure it fits the length of your eyelid –the false lashes should start and end where your natural lashes too, so trim the ends if the strip is too long! Apply a thin strip of glue to the lash band and at at least 60 seconds for it to dry and become tacky, rolling and bending the band to maintain its flexibility. Looking down slightly, nudge the band into place using tweezers or your fingers. To emphasize your brows, use a pencil or pomade in a shade that’s one or two shades darker than your hair color if you have blonde or light brown hair. If your hair is very dark brown or black, you can use product that is one or two shades lighter than your hair. Almost all hair colors should always use a cooler shade, even if you have warm tones and warm coloring. Trace your brow shape with a pencil, then fill in with powder or pomade. If you like, you can use a clear gel to set, or even a bit of hairspray on an old toothbrush!

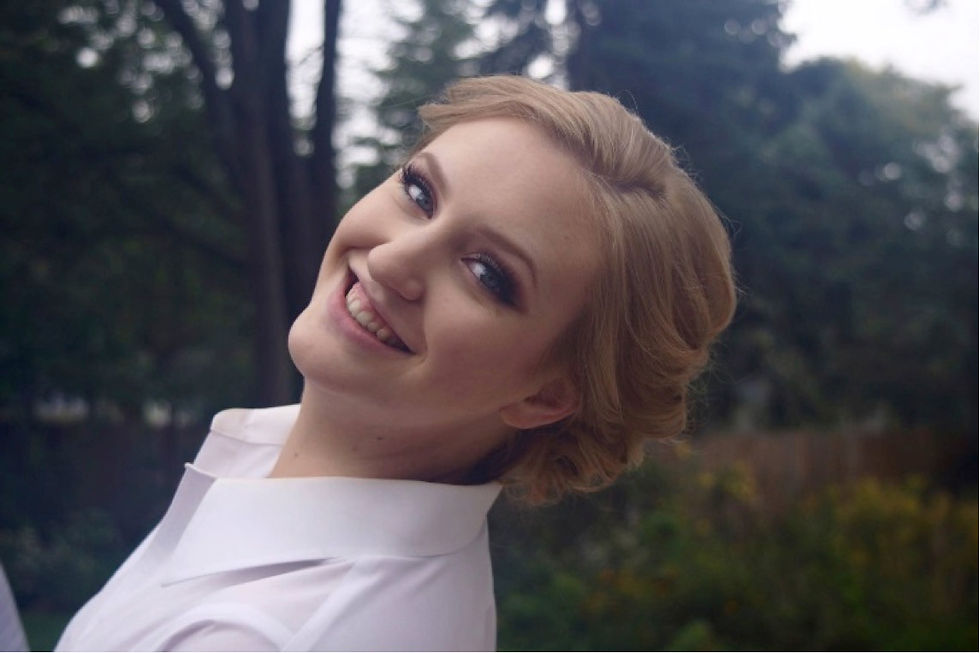
This bride is wearing false lashes I applied for her; they’re not dramatic, but they really make her eyes pop!
6. Contour and highlight your face
Contouring and highlighting sounds scarier than it is – it’s just about emphasizing or de-emphasizing your face shape. You can use a bronzing powder, or even a matte brown eyeshadow; in general, stay away from shades that are too warm, shimmery, or orange-bronze. Using a medium-small brush, dust the brown powder or shadow on your temples and hairline, in the hollows of your cheeks right under your cheekbone, and along your jawline. As with blush, start lightly and build color as you like. To highlight, use a concealer or foundation one or two shades lighter than your skin tone and apply it in the middle of your forehead, down the bridge of your nose, in the center of your chin, and in upside down triangle shapes under your eyes. Blend out well with a brush, sponge, or your fingers. In this illustration, the brown is where your contouring powder can go; light yellow is where you’d put your highlighter or lighter concealer; and the blush is on the apples of the cheeks, blended upward toward the temples.
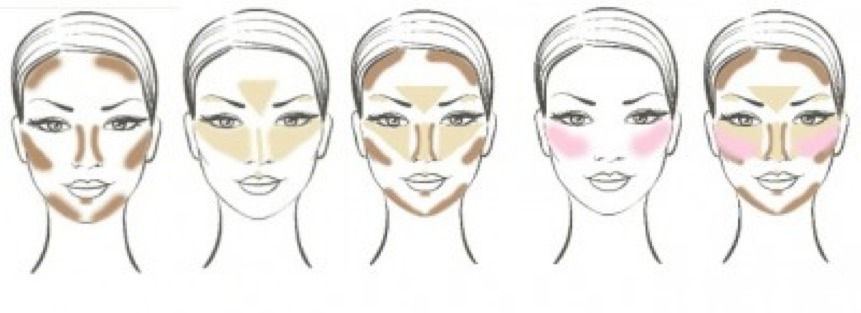
Photo cred: beauty101blog.com
7. Set it and forget it!
The importance of “setting” your makeup is especially important for photos. There are several different options for setting “sprays” that you spritz lightly all over your face when you’ve finished applying your makeup. You can also dust a translucent or yellow-tinted powder (avoid anything white – it will glare off the camera lens!) underneath your eyes and over your T-zone (forehead and nose). This will help keep everything in place during your photo shoot.
8. Laugh it up!
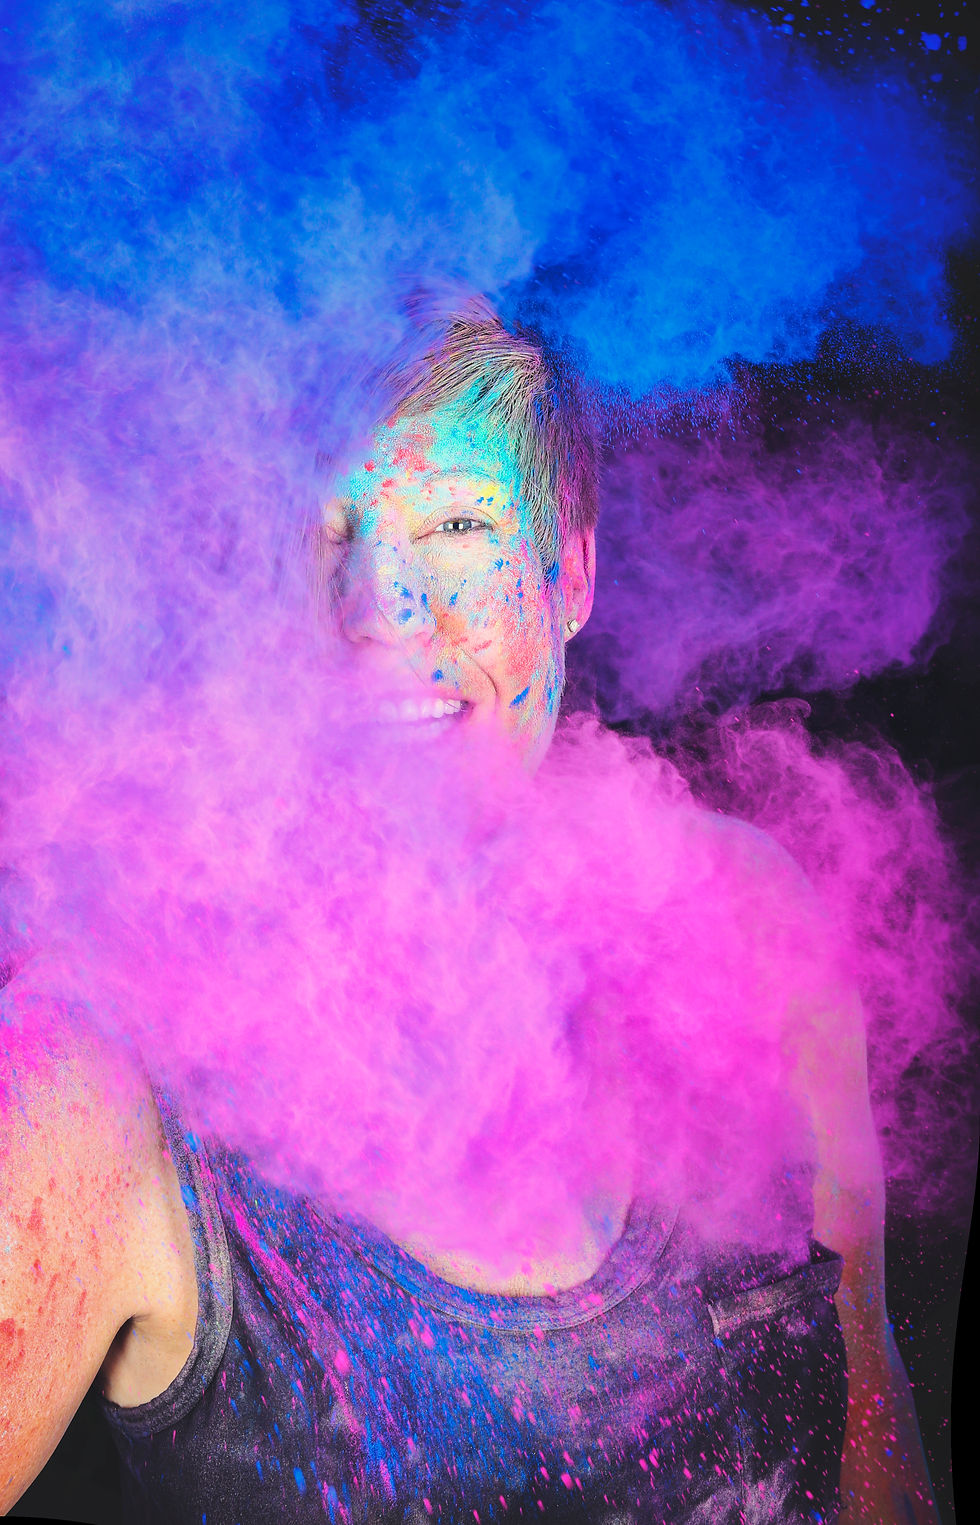
Whether you’re a regular makeup junkie or this photo shoot is the first time you’ve worn mascara or foundation in your entire life, taking photos with Ania and Molly is always a blast. Smile, laugh, and have fun at your shoot!

ABOUT JACQUELYN
Jacquelyn is a freelance makeup artist and beauty consultant at Beauty by Jacquelyn based in Minneapolis, Minnesota. She loves teaching about makeup and its application, and especially enjoys helping clients look and feel their best for important moments in their lives. When she's not gluing on eyelashes or swatching lipsticks at Sephora, she studies higher education policy and student engagement at the University of Minnesota as a graduate student and aspiring researcher.
Comments